


Pop-under ads are a type of display advertisement that opens in a separate browser window beneath the user’s active page. This subtle approach makes them a preferred choice for advertisers aiming to increase engagement without disrupting user experience. In this guide, we’ll take you through a comprehensive popunder campaign setup with Adsaro, providing expert tips to help you streamline your campaign and boost conversions.
In this guide, we are creating a popunder campaign for www.softsaro.com, a company specializing in IT solutions, social media marketing, and SEO services.
STEP 1: On your dashboard, Under the Campaigns section, click on create Popunder campaign.

STEP 2: Set the name of your campaign. For this guide, we have set it as Popunder Test. You can run the campaign immediately after verification or set a specific start and end date.
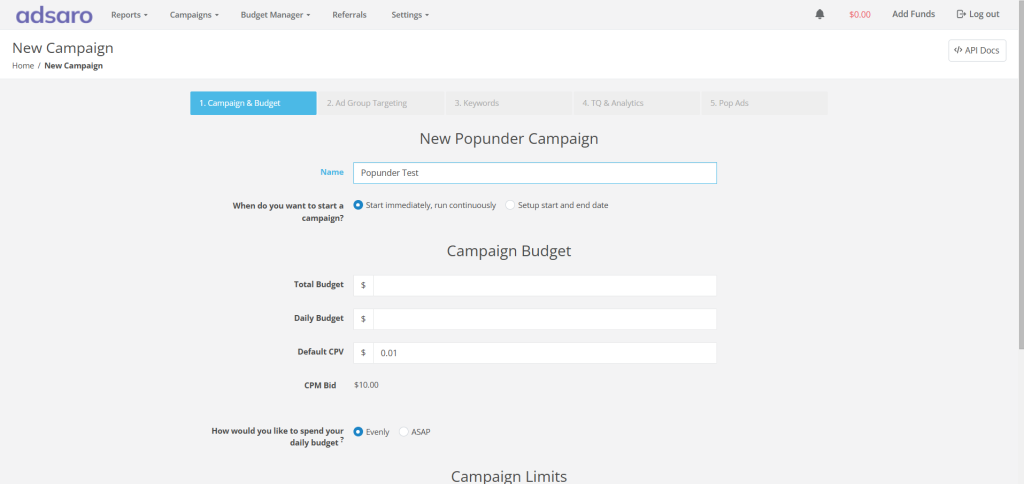
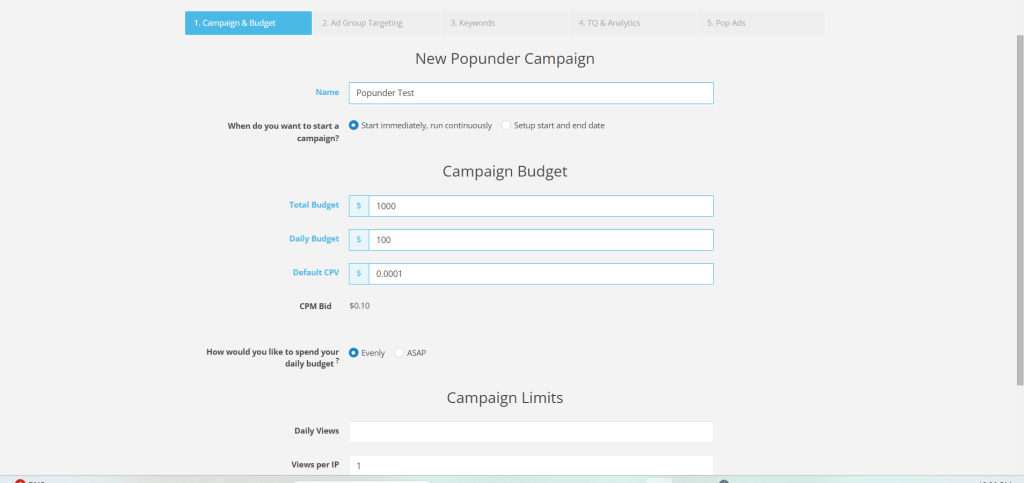
STEP 3: Next, set the budget for your campaign. To clarify, the total budget refers to the maximum amount of money allocated to run the campaign over its entire duration, whereas the daily budget is the amount spent in a single day. In addition, the default CPC represents the bid amount for the campaign. In this popunder campaign setup, we have set the total budget to $1000, the daily budget to $100, and the CPV to 0.0001. Our system sets the CPM bid according to your CPV by:
CPM BID = CPV * 1000
If you select evenly, the budget will be distributed proportionally during the day. In case of ASAP, budget limit will be fulfilled as soon as possible. Set it according to your campaign requirements.
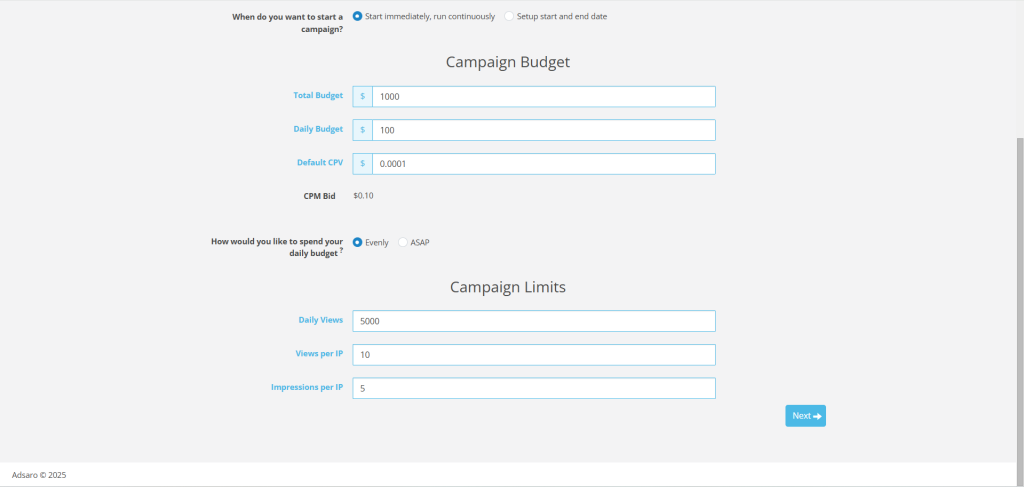
STEP 4: Now, set the clicks and impression limits for your campaign. To begin with, daily views refer to the total number of times users views on an ad within a single day. Meanwhile, views per IP measure how many times users from a single IP address can view an ad. Similarly, impressions per IP track how often an ad is displayed to users coming from a single IP address. In this popunder campaign setup, we have set daily views to 5000, 10 views per IP, and 5 impression per IP. Set it according to your campaign goals.
CLICK NEXT
STEP 5: Next, target the geographical locations where you want your ads to be displayed. In Adsaro, we offer highly specific targeting options so that your ads are shown only to the audience you want to reach. You can target All GEOs, or specific continents, countries and even cities too. In this popunder campaign setup, we have targeted all GEOs.

STEP 6: Under Time targeting, schedule the ads to run during specific times of the day or on particular days of the week. In this popunder campaign setup, we have set it to default settings.
[Please note that Adsaro Uses Pacific Time (PT) time zone. So, ensure you converted the time to your desired time zone.]

STEP 7: Select the operating systems where you want to display your ads. OS targeting ensures your ads reach users browsing on the selected OS, helping you connect with your desired audience more effectively. In this popunder campaign setup, we are targeting Android, Windows ,MacOS, Linux, and IOS.
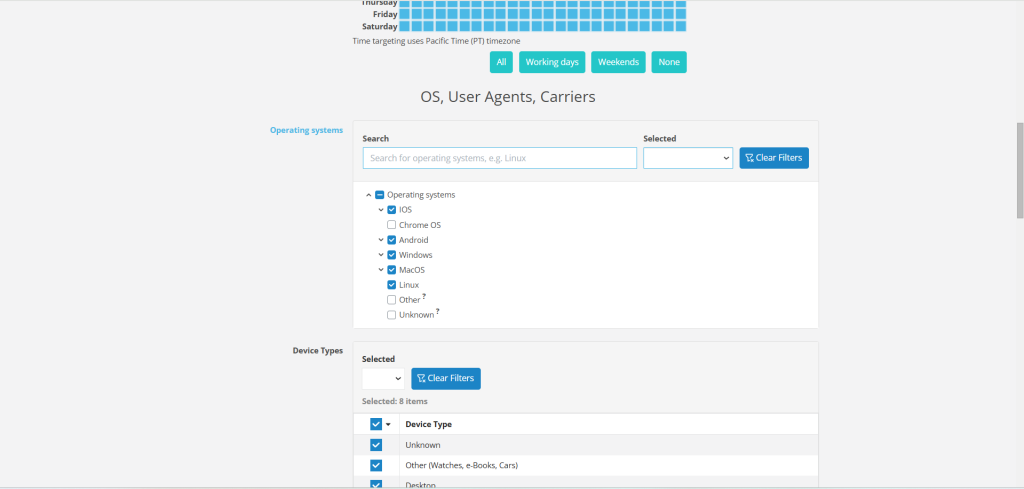
STEP 8: Target the device types which best suites your adformat such as desktop, mobile, TV. In this popunder campaign setup, we are targeting our ads to show in all devices.
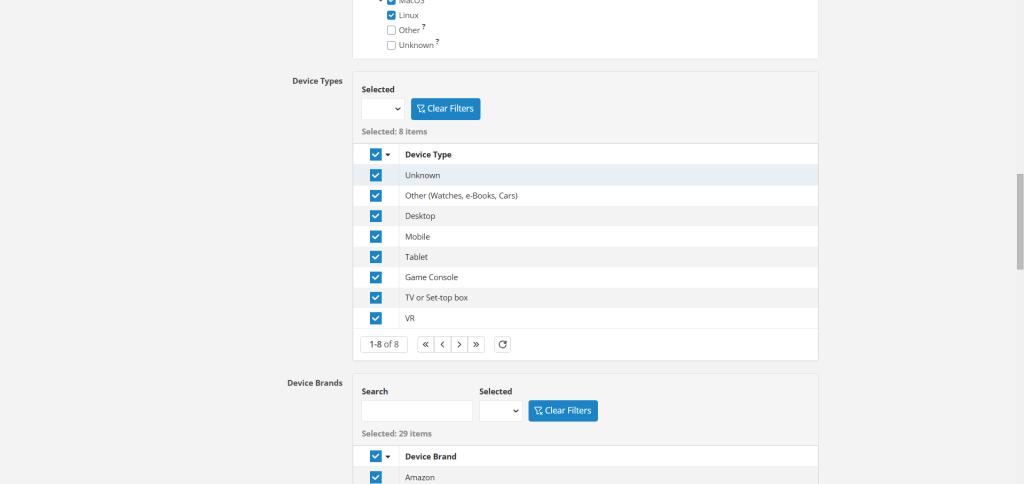
STEP 9: In Adsaro, you can target your ads to run on specific device brands according to your needs. In this popunder campaign setup, we have selected Apple, Asus, Blackberry, Coolpad, Google, HTC, and Huawei brands. Choose and set the brands according to your strategy.
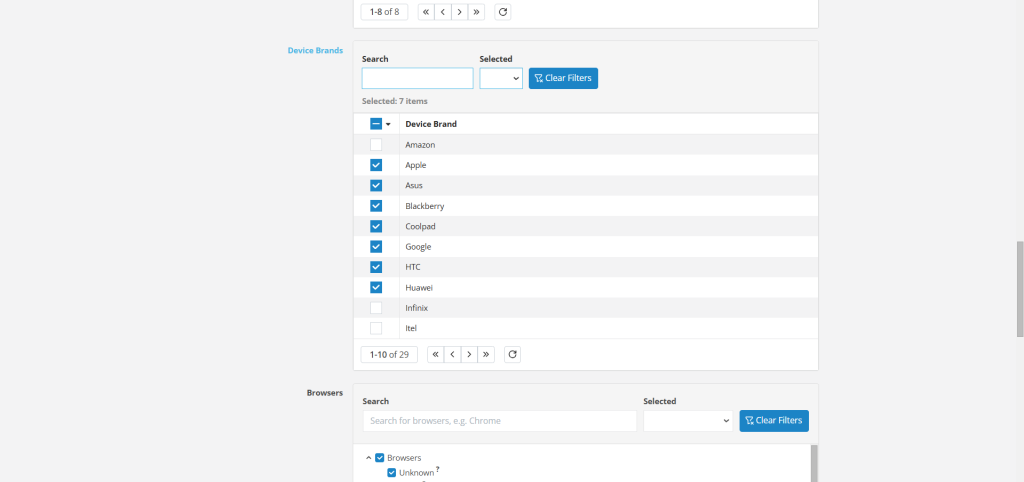
STEP 10: Browser targeting enables your ads to run only on selected browsers. If selected, our system automatically includes new browser versions not listed here. In this popunder campaign setup, we have selected Apple browser, Chrome, Edge, Firefox, Opera and enabled auto include new browser versions.
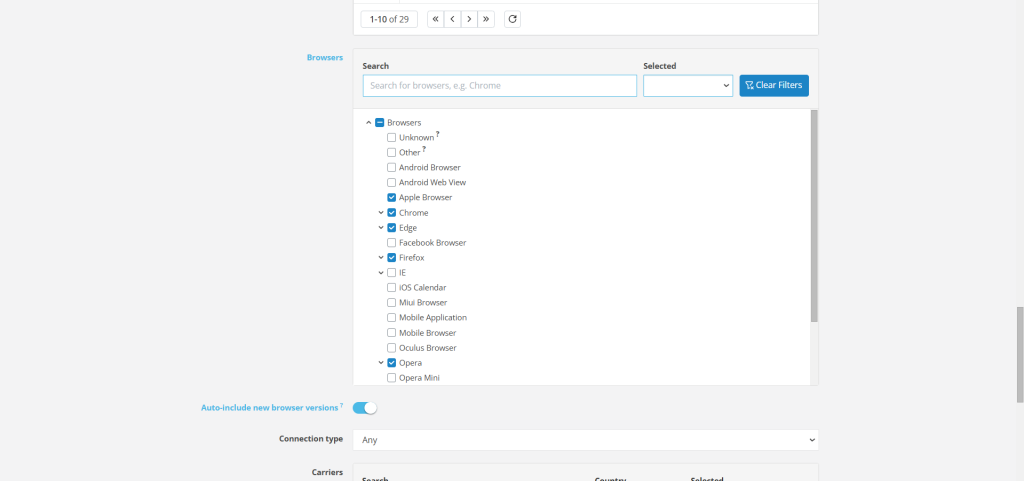
STEP 11: Select the connection type specifically WIFI or cellular or both. It targets and displays your ads to users browsing via Wi-Fi, cellular data, or both, giving you flexibility in reaching your audience across different network connections. Select the network carriers according to countries. In this popunder campaign setup, we have set it to all.
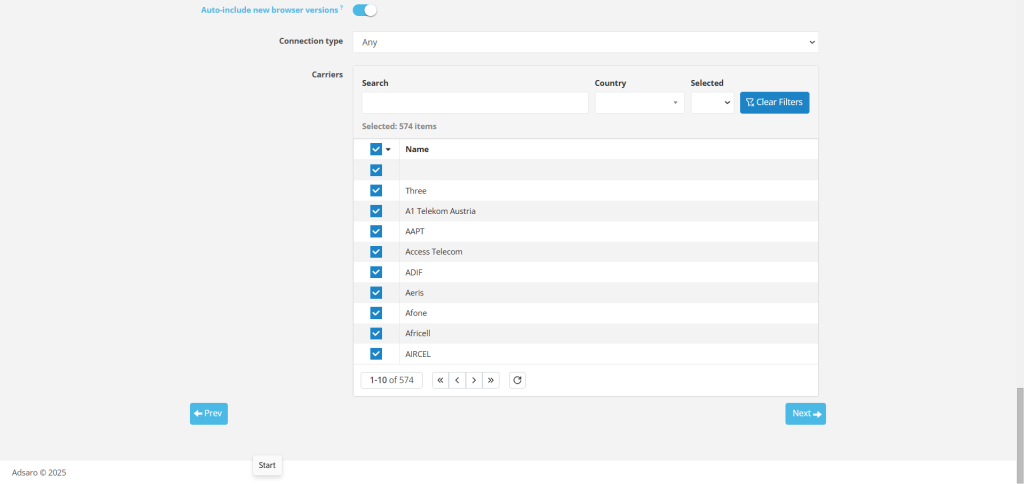
CLICK NEXT
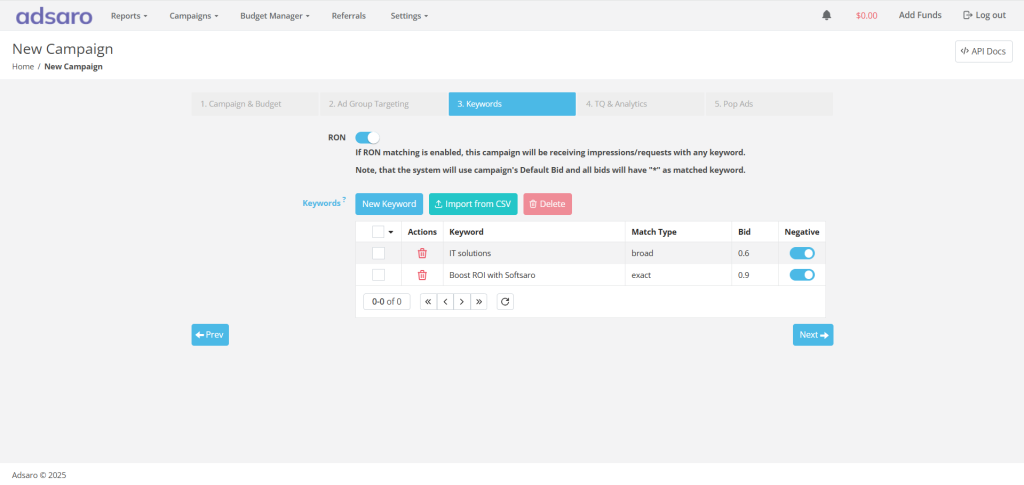
STEP 12: Under the Keywords section, you’ll find an option to enable or disable RON (Run of Network). If enabled, your ad is displayed across a wide range of websites within the Adsaro network; however, it does not involve specific targeting based on content or user interests. Consequently, this approach is generally more cost-effective compared to keyword targeting. Furthermore, it broadens your campaign’s reach across multiple websites, thereby enhancing brand awareness and establishing a stronger online presence.
For more focused reach, limited to those searching for the specific keywords, you can add keywords, set the match type, and bid on the keyword. You can add multiple keywords in a campaign. As you can see, in this popunder campaign setup, we have enabled RON, as well as several keywords, match types, and bid.
CLICK NEXT
STEP 13: You can Whitelist your Zones, Publishers, Websites, etc. from here if you have any preferences or you can skip this part. For more information about this section click here and get in touch with our managers.

CLICK NEXT
STEP 14: Type your destination URL and required macros.
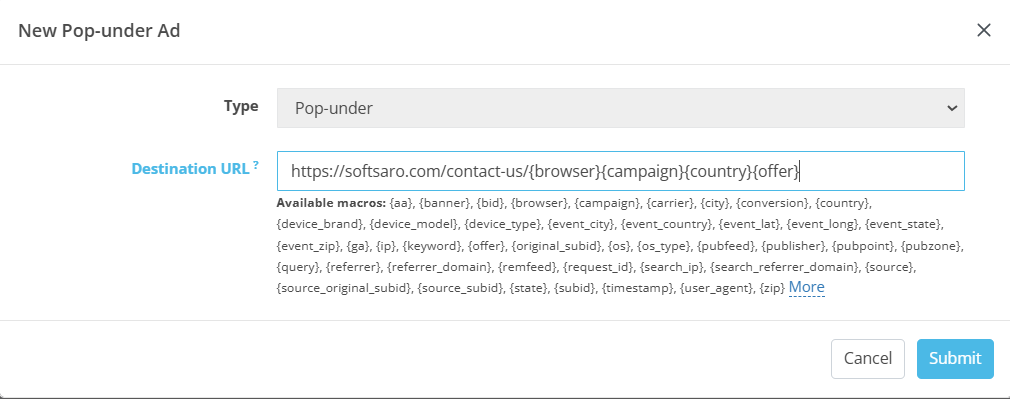
CLICK SUBMIT
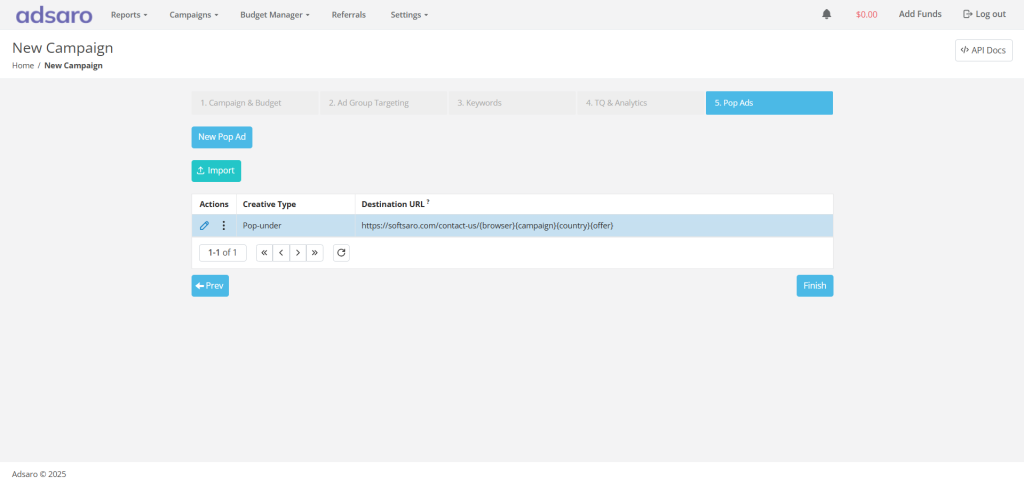
CLICK FINISH
You have just created your popunder campaign in Adsaro. It usually takes 2-3 working hours for our team to verify your campaign. In some cases, it may take longer if we find any suspicious activities in your campaign. Once it is verified, the ads are ready to go.


Leave a Reply